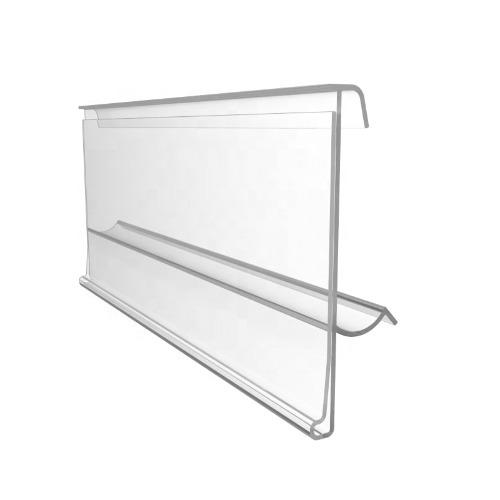
A plastic strip label holder is a small plastic device designed to hold and display labels. It typically consists of a clear plastic strip with an adhesive backing that can be attached to a surface such as a shelf, drawer, or bin. The strip has a pocket or slot where a label or tag can be inserted, allowing for easy identification and organization of items.
Plastic strip label holders are commonly used in various settings, including retail stores, warehouses, offices, and libraries. They are often used in shelving systems to provide a clear and visible way to display product or item information, pricing, or other relevant details. The labels can be easily inserted, removed, or replaced as needed, making them a flexible solution for organizing and labeling items.Besides,Installing a plastic strip label holder is a relatively simple process. Here's a step-by-step guide on how to install one:
Clean the surface: Start by ensuring that the surface where you plan to install the label holder is clean and dry. Use a mild detergent or cleaning solution to remove any dirt, dust, or grease. Wipe the surface thoroughly with a clean cloth.
Measure and cut: Measure the length of the plastic strip label holder and cut it to the desired size using a pair of scissors or a utility knife. You may need to use a ruler or measuring tape to ensure accurate cutting.
Remove the adhesive backing: Peel off the protective backing from the adhesive side of the label holder strip, exposing the adhesive surface.
Position and apply pressure: Carefully position the adhesive side of the strip onto the cleaned surface. Press firmly along the entire length of the strip to ensure good adhesion. Apply steady pressure for a few seconds to allow the adhesive to bond properly.
Insert the label: Once the strip is securely attached, you can insert your label or tag into the pocket or slot provided. Ensure that the label is properly aligned and visible through the clear plastic.
Repeat if necessary: If you need to install multiple label holders, repeat the above steps for each strip, ensuring proper spacing and alignment between them.


 English
 Español


