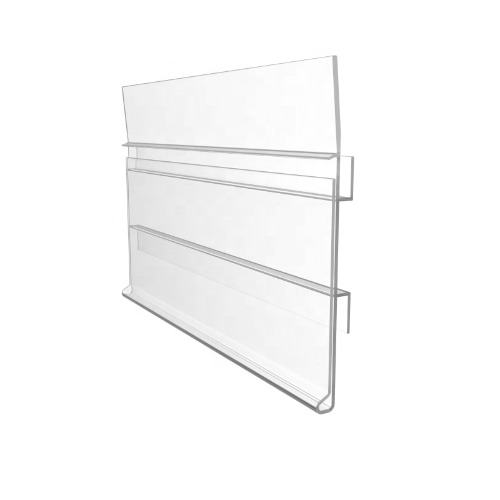
Installing a plastic shelf is a relatively straightforward process. Here are the general steps to guide you through the installation:
Gather the necessary tools and materials: You will need a measuring tape, a level, a pencil or marker, screws or brackets (depending on the type of shelf), a drill or screwdriver, and anchors (if required).
Choose the location: Determine where you want to install the plastic shelf. Consider the purpose of the shelf, the weight it needs to support, and any obstructions or wall studs that may affect the installation.
Measure and mark: Use a measuring tape to measure the desired height and location of the shelf. Mark the positions where the shelf brackets or screws will be placed on the wall. Ensure the marks are level using a level.
Install the brackets or screw holes: Depending on the type of plastic shelf you have, you may need to install brackets or create screw holes in the wall. If using brackets, position them according to your marks and secure them to the wall using screws. If using screws, drill pilot holes into the wall at the marked positions.
Attach the shelf: Place the plastic shelf onto the installed brackets or align it with the screw holes. If using brackets, ensure the shelf is properly seated on them. If using screws, insert screws through the shelf and into the pilot holes in the wall. Tighten the screws until the shelf is securely attached.
Check for stability: Once the shelf is installed, check its stability by applying gentle pressure and ensuring it does not wobble or move excessively. If needed, adjust the brackets or screws to achieve a more secure fit.
Test the shelf: Place lightweight items on the shelf and ensure it can hold the weight without sagging or bending. If necessary, reinforce the shelf with additional brackets or supports to improve its load-bearing capacity.


 English
 Español


